

I definitely had some struggles getting these raised beds built, but after it was suggested to me that I drill a pilot hole first before drilling in the wood screws, it went much smoother. I completed five raised beds in total; 1 off to the side for asparagus (actually, it's in the far back in this picture taken a couple of weeks ago), and 4 in a row near the already existing garden.
Quite honestly, I went with raised beds mainly for aesthetics. I am definitely not at an age (or physical condition) yet where I need to worry about bending over or kneeling down so a regular dug garden would have been fine. But I also wanted to avoid digging as much as possible; somehow in my mind I thought that building raised garden frames would be easier than digging - what was I thinking?! Actually, I know what I was thinking - that someone would offer to do it for me, but I wasn't so lucky!
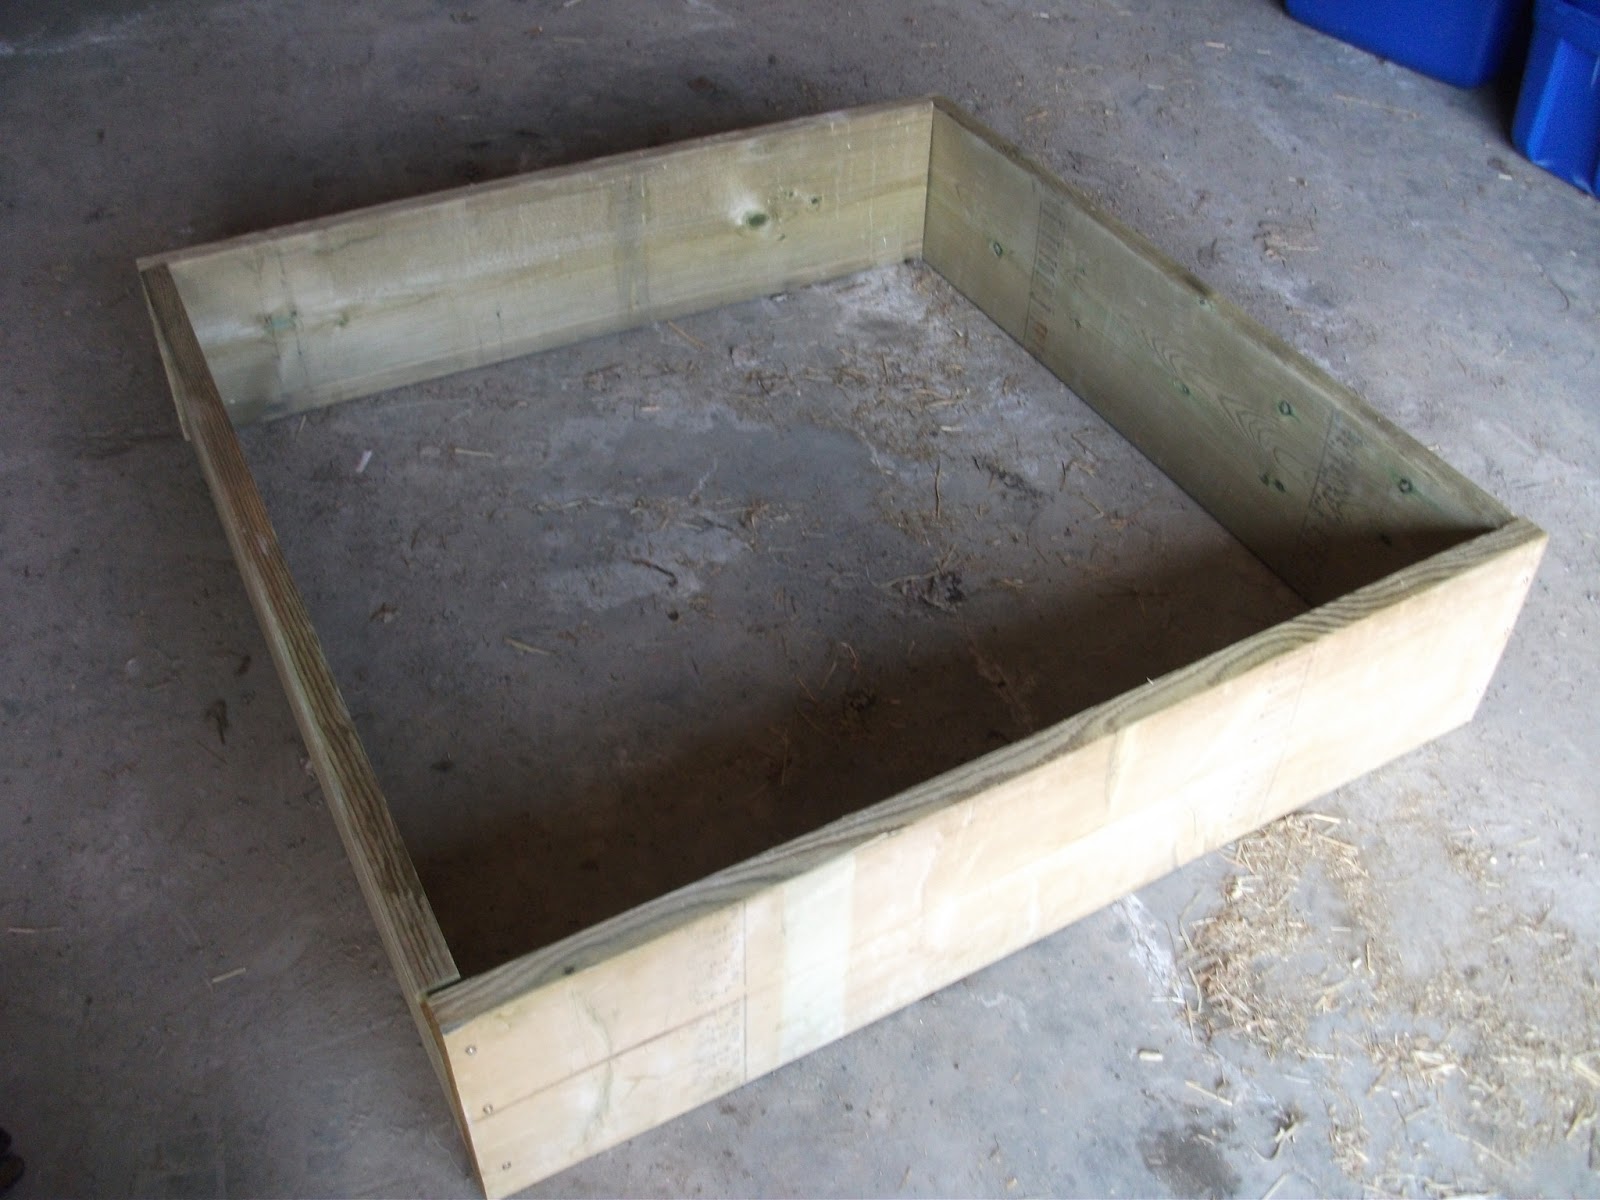
Building the frames:
I can't seem to find the original website with the details that I used, but it's about the easiest method - maybe not as pretty as some, but certainly functional. For each frame, I purchased 2 pieces of treated lumber (yes, I used treated lumber to grow veggies, and no, I'm not the slightest bit worried about chemicals leaching into the soil and affecting the food) - 2' x 8' x 12". The friendly folks at Home Depot cut them in half for free, so I had my four sides. A box of 3" wood screws and I was ready to throw them together. As you may have seen from an earlier post (Raised Garden Frames DIY), the first one didn't work out so well - I have since screwed in some brackets at the corners for reinforcement. I did not bother with this on the other frames as they were tighter at the corners. I can always add them later on if the frames look wobbly.
Preparing the garden beds:


 I first laid down cardboard, then positioned the frame over top. I then added a layer of mulch (in my case, hay).
And then a layer of sheep manure and/or compost. Because the soil I have is quite alkaline, I also added some peat moss to lower the ph levels when I filled in the rest of the garden bed.
Planting the garden beds:
I have continued to plant on the early side, especially considering the forecast next week for a couple of nights at only 1 or 2 degrees F. If I lose some seeds, not a big deal, but if they don't get affected by the frost, then I've gained a week or two in planting (two of the beds were prepared and planted over a week ago).

The rectangular raised bed in front of the frames in the picture above is for perennial herbs; I didn't think it needed as much depth, so I've just thrown together some fence posts and filled it in with soil - the herbs are still too small to plant out. From left to right, the 1st bed is still not prepared. The 2nd bed (not prepared in the photos, but just finished tonight) was seeded with Broccoli (Munchkin variety), Veronica Hybrid Cauliflower, Jade Cross Brussels Sprouts and Taunus Hybrid Beets (other than the broccoli, these are all duplicates of plants I already have in containers in the greenhouse). The 3rd bed holds mostly butternut squash and 1 "surprise" summer squash seed from a mixed packet, and the final bed contains acorn squash and another surprise summer squash.
No comments:
Post a Comment