

The subtitle is "50 Fine Cheeses That You Can Make In Your Own Kitchen". Although the author suggests a number of household items that can be used for draining and pressing, some of the cheeses require specific molds (and by "molds", I mean both shaped containers and penicillium candidum!). Many require special ingredients to be ordered including rennet and various starter cultures. So needless to say, I started with something simple - cream cheese.
It follows the same process as homemade yogurt which I've made many times. It simply requires a longer setting period, and some extra time for draining whey for a thicker product than yogurt. I tried a half recipe, and it's turned out really well!! So here's the full recipe from the book, along with some comments on any changes I made. Be prepared for a 4-5 day process.
Ingredients:
4 cups non-ultra pasteurized half and half (mine says UHT pasteurized, oh well)
1 cup non-ultra pasteurized whipping cream (ditto)
2 Tbsp buttermilk
Salt
Herbs (optional)
Method:
Step 1: Heat the cream to 90oF (32oC), then stir in the buttermilk (Note: I don't have an instant-read thermometer right now, so went with my usual idea of what lukewarm is). Pour the mixture into a sanitized mixing bowl, preferably glass or any nonreactive metal. Cover the bowl with plastic wrap. Wrap a few kitchen towels around the bowl, making certain they fit snugly (I skipped this step). Place the bowl in a warm area, and let it sit for twenty-four hours (I put mine in the oven and alternately turned the the proof setting off and on every few hours when I thought about it).
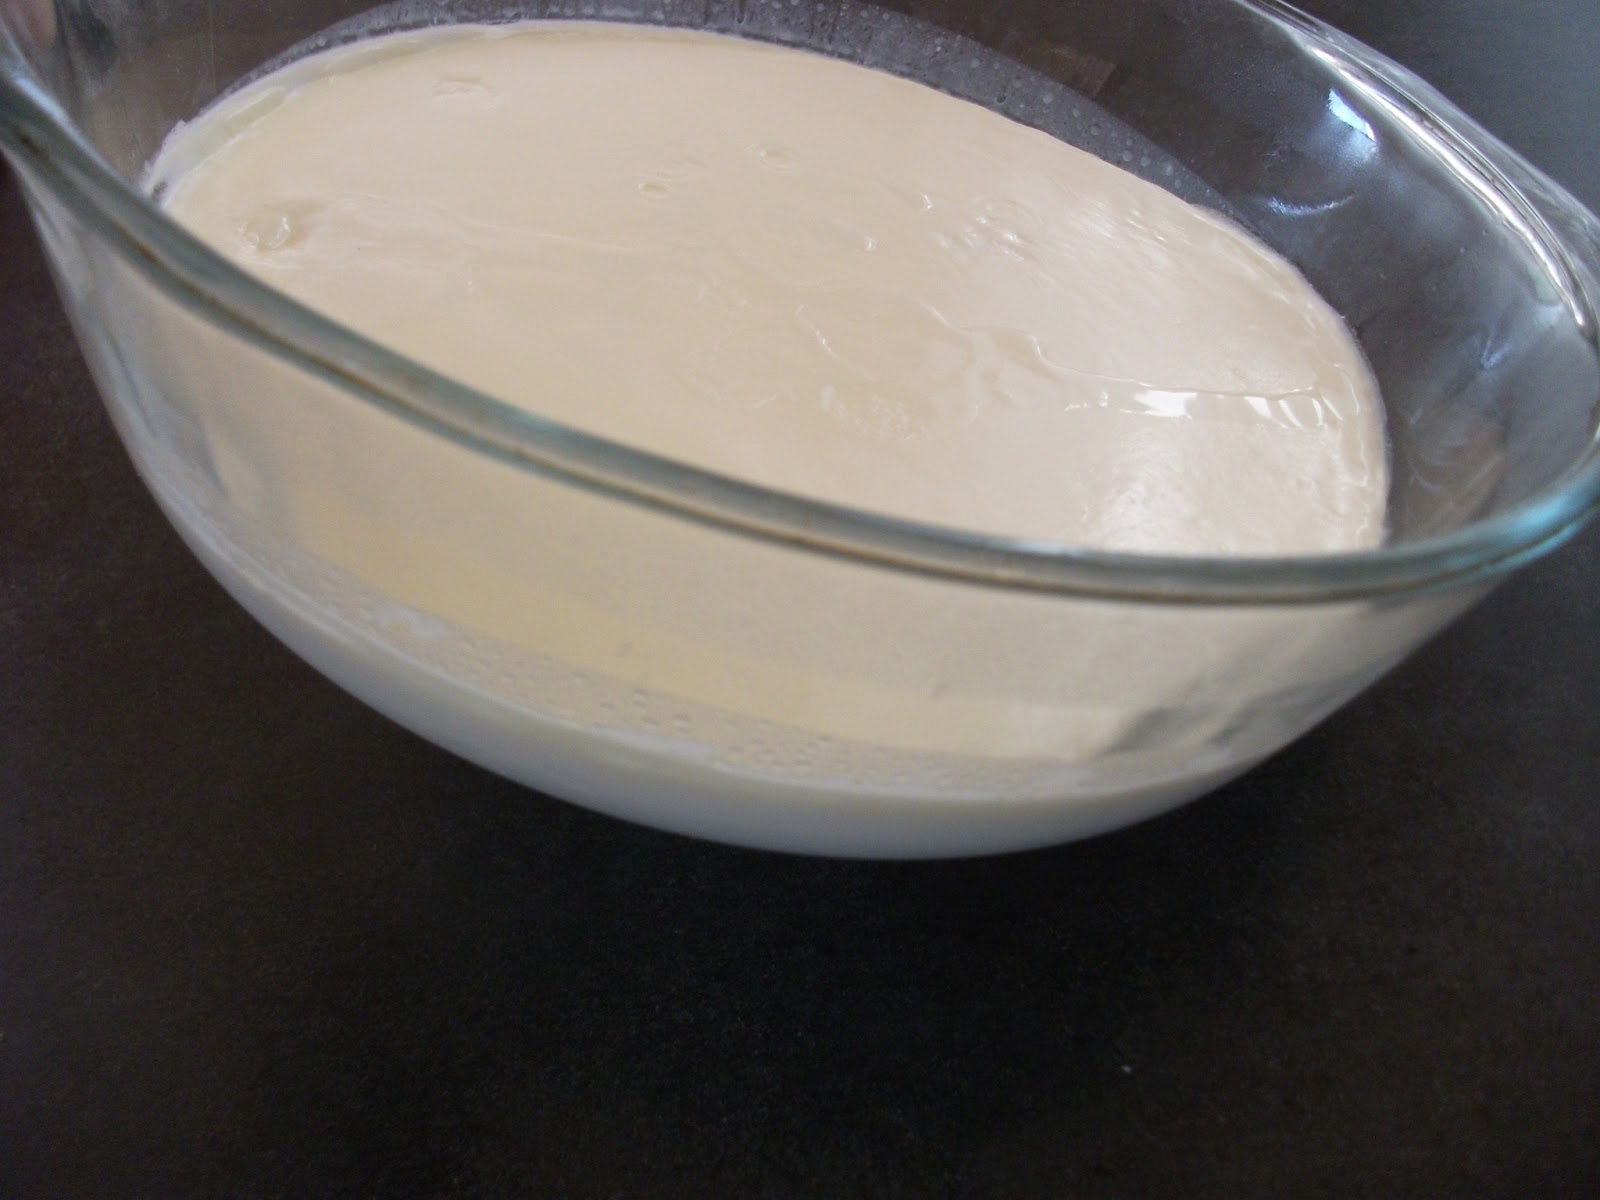 Step 2: After twenty-four hours (mine seemed ready at 16 hours), the cream mixture should have the consistency of yogurt and should not move when the bowl is leaned on its side. If it still has some movement, the cultures need more time to develop, so let it sit for another six to twelve hours.
 Once you have a firm mixture, pour it into your cheesecloth-lined colander with a catch bowl underneath. Allow it to drain for fifteen minutes, then fold the cheesecloth over the cheese. Place the colander in a deep bowl for continued draining. Cover it with plastic, and place in the refrigerator for as long as twelve to fourteen hours (maybe it was due to my early completion at the first step, but this next phase took more like 24 hours).
 Step 3: Remove the curd from the cheesecloth and salt to taste (he gives no indication in the book of how much salt that should be, so just start with a pinch at a time). Add herbs if desired. Reshape the curds into balls and wrap them in fresh cheesecloth; put the balls back into the refrigerator in the colander (I didn't do balls, just placed into another cheesecloth, same idea as the 2nd phase).
Make sure that you have a drip bowl under the colander to catch any additional whey. Cover the colander with plastic wrap, and let it sit for thirty-six to forty-eight hours, depending on the firmness of cheese you desire.

Place finished cheese in a sealed plastic container in the refrigerator. Stored this way, the cream cheese should last for up to two weeks. Yield: 1 pound.